QR Code Print Specs That Survive the Supply Chain
A serialized security code is only as strong as its worst print run. You can design a flawless dynamic QR system — unique codes, server-side verdicts, real-time alerts — and still lose consumer trust if the label on the bottle scans one time in three. This guide consolidates the qr code label print specification we apply on the production floor: the five numbers that decide scan reliability, the substrate and finish problems that only show up after a full run, and the press-day checklist that catches them first.
The numbers below follow Pageloot's QR code size guide (updated May 2026) and GS1's 2D barcode guidance, cross-checked against our own label production experience. Where a value depends on your material or scanning distance, we say so instead of pretending one number fits every label.
The Five Numbers That Decide Whether a Printed QR Code Scans
Scan failures are rarely mysterious. They trace back to five measurable parameters, and all five are controllable at the artwork stage — long before ink meets substrate.
| Parameter | Specification | Why it matters |
|---|---|---|
| Minimum size (close range) | 2 × 2 cm (0.8 × 0.8 in); 3 × 3 cm recommended for product labels | Below this, smartphone lenses struggle to resolve individual modules |
| Scanning distance ratio | 10:1 — 1 cm of code width per 10 cm of scanning distance | Scales sizing for shelves, posters, and shelf-edge placements |
| Quiet zone | 4 modules wide on all four sides, kept empty | Prevents adjacent artwork, borders, or text from confusing the decoder |
| Contrast | ≥ 4.5:1, dark modules on a light background | Decoders read luminance difference, not color — light-on-light fails |
| Resolution / format | 300 DPI minimum for raster; vector (SVG/EPS/PDF) preferred | Blurry or anti-aliased module edges are the top cause of read errors |
Sources: Pageloot QR code size guide and QR printing guidelines (verified September 2026); GS1 2D barcode standards. Values are guidance for smartphone scanning — regulated GS1 DataMatrix coding follows GS1 General Specifications and is graded to ISO/IEC 15415 instead.
Size: Start From the Scan, Work Backwards
The 10:1 rule is the fastest sizing tool on a label brief. A hand-scanned bottle label sits about 25–30 cm from the camera, so 3 cm of code width is the practical floor — which is exactly why Pageloot recommends 3 × 3 cm for product labels rather than the 2 × 2 cm business-card minimum. Anything under 10 mm is where even flagship phones start failing, and no amount of error correction rescues a module grid the lens cannot focus on.
Density is the other half of the size equation. A serialized authentication URL can be kept short at the generator level, which keeps the QR version low and the modules chunky. This is one of the quiet advantages of a managed dynamic code system — the same physical footprint carries less data and scans more reliably. If your artwork team is compressing a 90-character URL into a 15 mm square, the problem is the link, not the printer.
Quiet Zone and Contrast: The Two Specifications Designers Break Most
No part of a qr code label print specification gets overridden in design reviews more often than these two — and both failures look perfectly fine on a monitor.
The quiet zone — four empty modules on every side — exists because decoders segment the symbol from its surroundings first and read the data grid second. A hairline brand rule, a pattern bleed, or a photo edge crossing that margin is enough to break segmentation on mid-range devices. Treat it as part of the code, not as optional padding, and bake it into the die-line rather than hoping nobody crops it later.
Contrast failures cluster in two places. The first is inverted artwork (light modules on dark), which many decoders still refuse to read. The second is brand-color enthusiasm: pastel modules on white, navy on black, or — the classic — metallic ink on textured board, where perceived contrast collapses under warm store lighting. Pageloot's guidance is a minimum 4.5:1 ratio with dark-on-light as the reliable default; our production rule is simpler. Print a proof, scan it in the store's actual light, not in the studio.
Resolution and File Formats: What to Send the Printer
The artwork handoff causes more silent failures than any other step. A QR code exported as a screenshot and scaled up in the label layout develops soft, anti-aliased module edges that vanish on press. The specification:
- Vector first. SVG, EPS, or PDF regenerates the module grid sharply at any size.
- If raster is unavoidable, export PNG at maximum resolution and place it at no more than its native size, printing at 300 DPI or better.
- Logos over the code require error correction Level H (30% redundancy) and should cover no more than 25–30% of the symbol area, centered — never over the three finder patterns.
- Never rebuild the code in a different generator at the last minute; regenerate it from the source system so the encoded payload stays verifiable.
Substrate, Finish, and Curvature: Where Lab Specs Meet Real Labels
This is the section generic spec sheets skip, and it is where a qr code label print specification earns its keep. Paper specifications assume flat, matte, white stock. Real packaging is none of those things.
- Absorbent stocks (kraft, uncoated paper) spread ink at the module edges, effectively eroding the quiet contrast between modules. Compensate with a larger code or a coated label stock.
- Gloss lamination and varnish create specular glare under store lighting that whites out half the symbol. Matte lamination over the code area, or a spot-varnish-free window, costs almost nothing at quote stage and saves a reprint.
- Curved surfaces — bottles, jars, vials — distort the symbol geometrically. Small diameters need the code positioned on the flattest available face and verified by scanning on the actual container, not on a flat proof.
- Shrink sleeves add pre-distortion before the sleeve ever meets the bottle; the artwork must be pre-compensated for the sleeve's shrink ratio.
None of these appear in the 10:1 rule. All of them are caught in the same place: a first-article proof printed on the production substrate and scanned by people who did not design the label.
Tamper Construction: The Print Spec Continues Into the Die-Cut
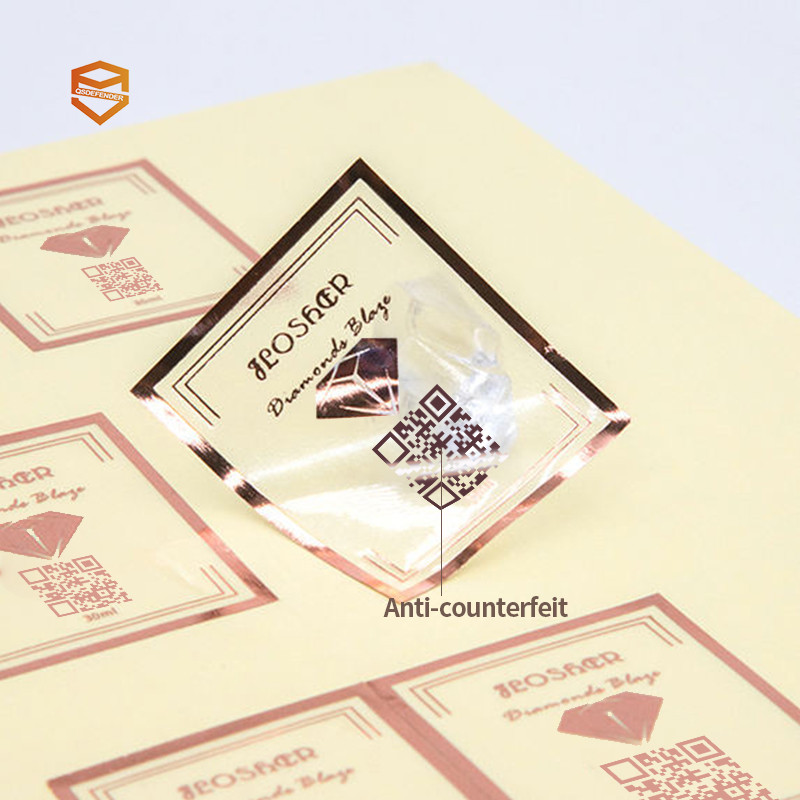
For anti-counterfeit labels, the physical construction is part of the specification. A serialized code that can be peeled off a genuine product and transferred to a fake has been defeated at the die-cutting stage, not the digital one.
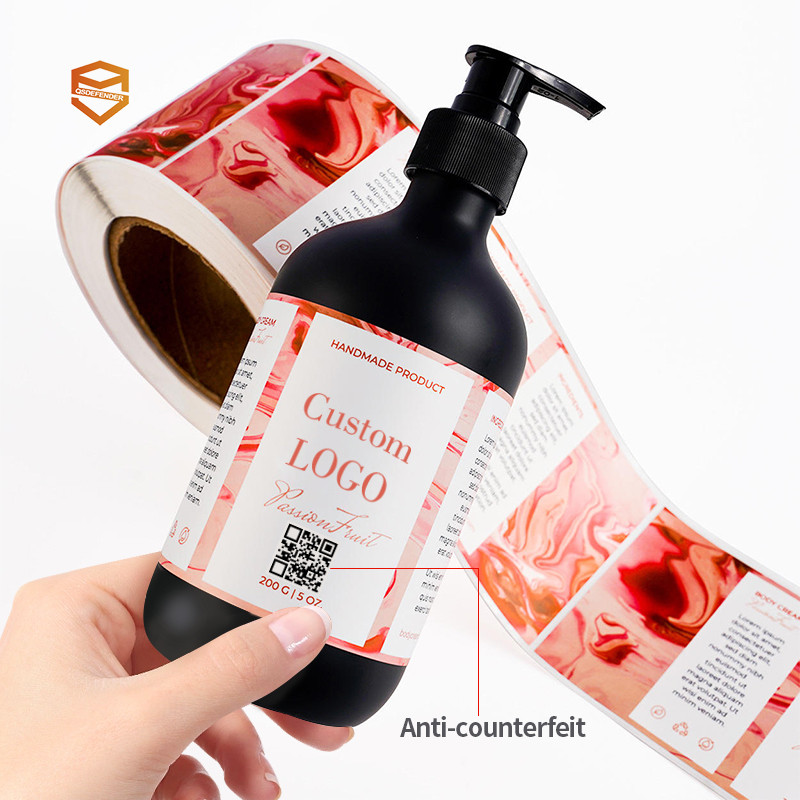
Options include fragile face stocks that shred on removal, VOID/HONEYCOMB layers that leave a residue pattern, and die-cuts that score the code area so peeling destroys the symbol. Each has print-side requirements — fragile stocks need adjusted die pressure, VOID layers need precise laminating tension — which is why tamper-evident labels should be specified together with the code artwork, not as a separate procurement line. We covered the tamper-evident layer in depth in our VOID sticker guide.
Press-Day QC: The Checklist That Protects the Whole Batch
A specification without a checkpoint is a suggestion. This is the release checklist we use before a serialized label run ships:
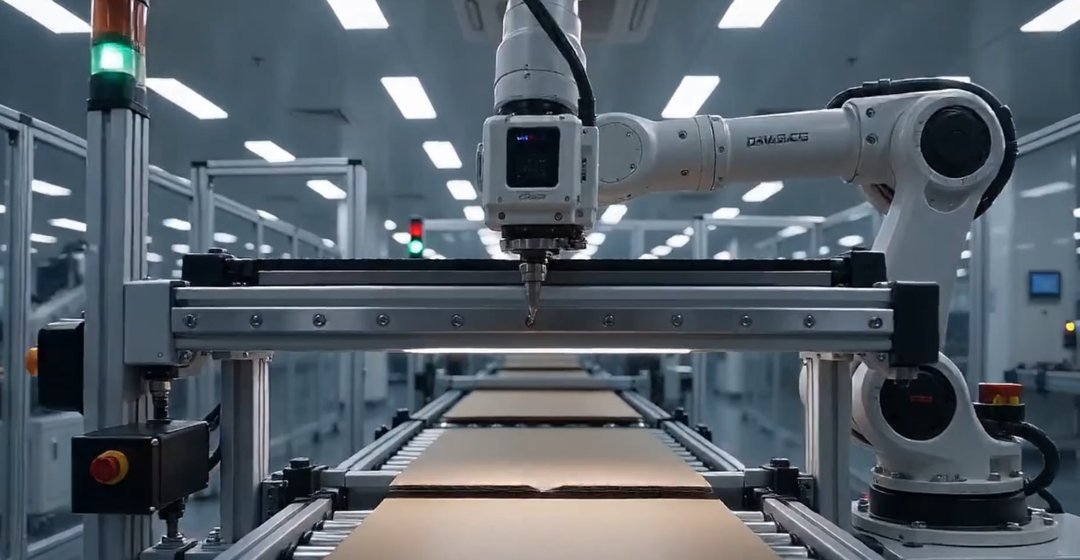
- First article, not screen proof. Pull the first meter of labels off the press and scan those, because setup drift happens between proof and run.
- Scan matrix: minimum three devices (an older Android, a current iPhone, a mid-range Samsung) × two lighting conditions (store fluorescent, daylight) × the actual packaged curvature.
- Verify the payload, not just the scan — a code that opens the wrong URL is worse than one that fails. Each first-article code should resolve to its unique serialized destination.
- Retain samples from the run's start and end; label-to-label variance across a long run is where intermittent failures hide.
- Barcode grader (optional but definitive): if the labels feed a regulated retail chain, an ISO/IEC 15415 grade of C or better per symbol removes guesswork.
When the Code Scans Perfectly but the Trust Still Fails
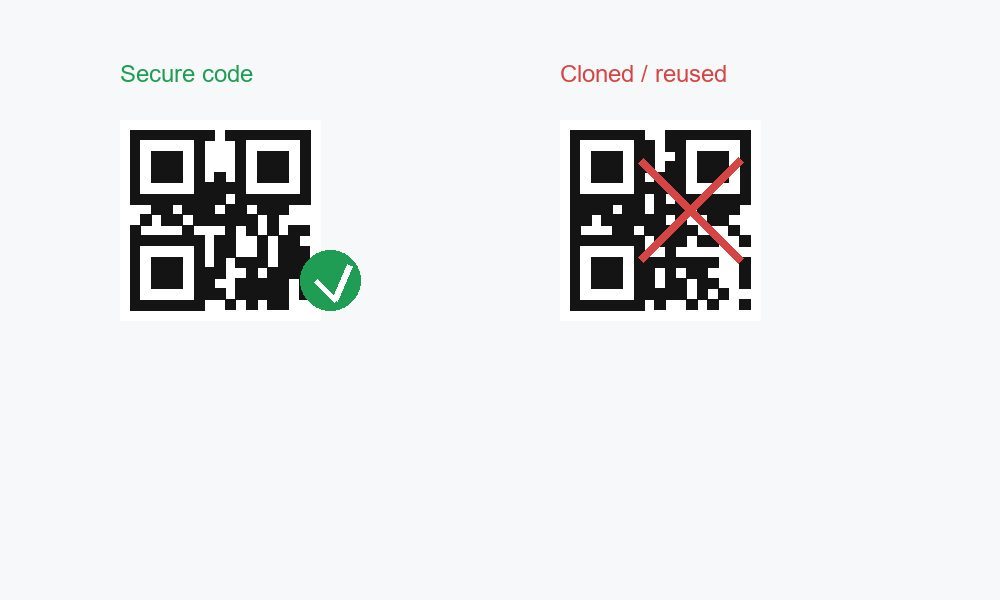
Print quality is necessary but not sufficient. A beautifully printed static code that returns no verdict, or a dynamic code behind a generic redirect anyone can imitate, still hands the counterfeiter an opening. The printing specification is one layer of a system — the code design mistakes that undermine it are in our companion piece on five QR code mistakes counterfeiters exploit, and the full deployment architecture is in the 2026 implementation playbook.
Honest Boundaries of This Specification
The five core numbers (size, 10:1 ratio, quiet zone, contrast, resolution) are consolidated from Pageloot's published size and printing guides — current as of May 2026 — and GS1's 2D barcode standards; the substrate, finish, and QC guidance reflects our own label production experience across serialized and tamper-evident constructions. They are engineering guidance for smartphone scanning, not a substitute for grading your specific artwork on your specific substrate. Regulated environments (pharma serialization under EU FMD or DSCSA) follow GS1 Healthcare specifications and ISO print-quality grading, which impose stricter, symbol-specific requirements than the consumer-oriented numbers above.
Get the print-spec checklist as a document. We've packaged the five-parameter spec, the substrate/finish notes, and the press-day checklist into a one-page brief your artwork and print suppliers can work from directly. Send an inquiry with the subject "Print-Spec Checklist" and we'll return it with notes for your label construction — or contact us to review an existing design before your next run.